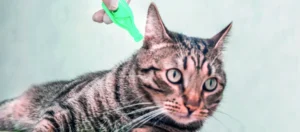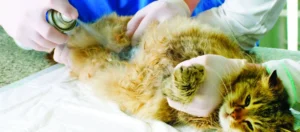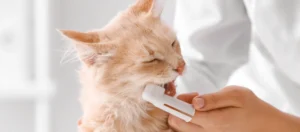


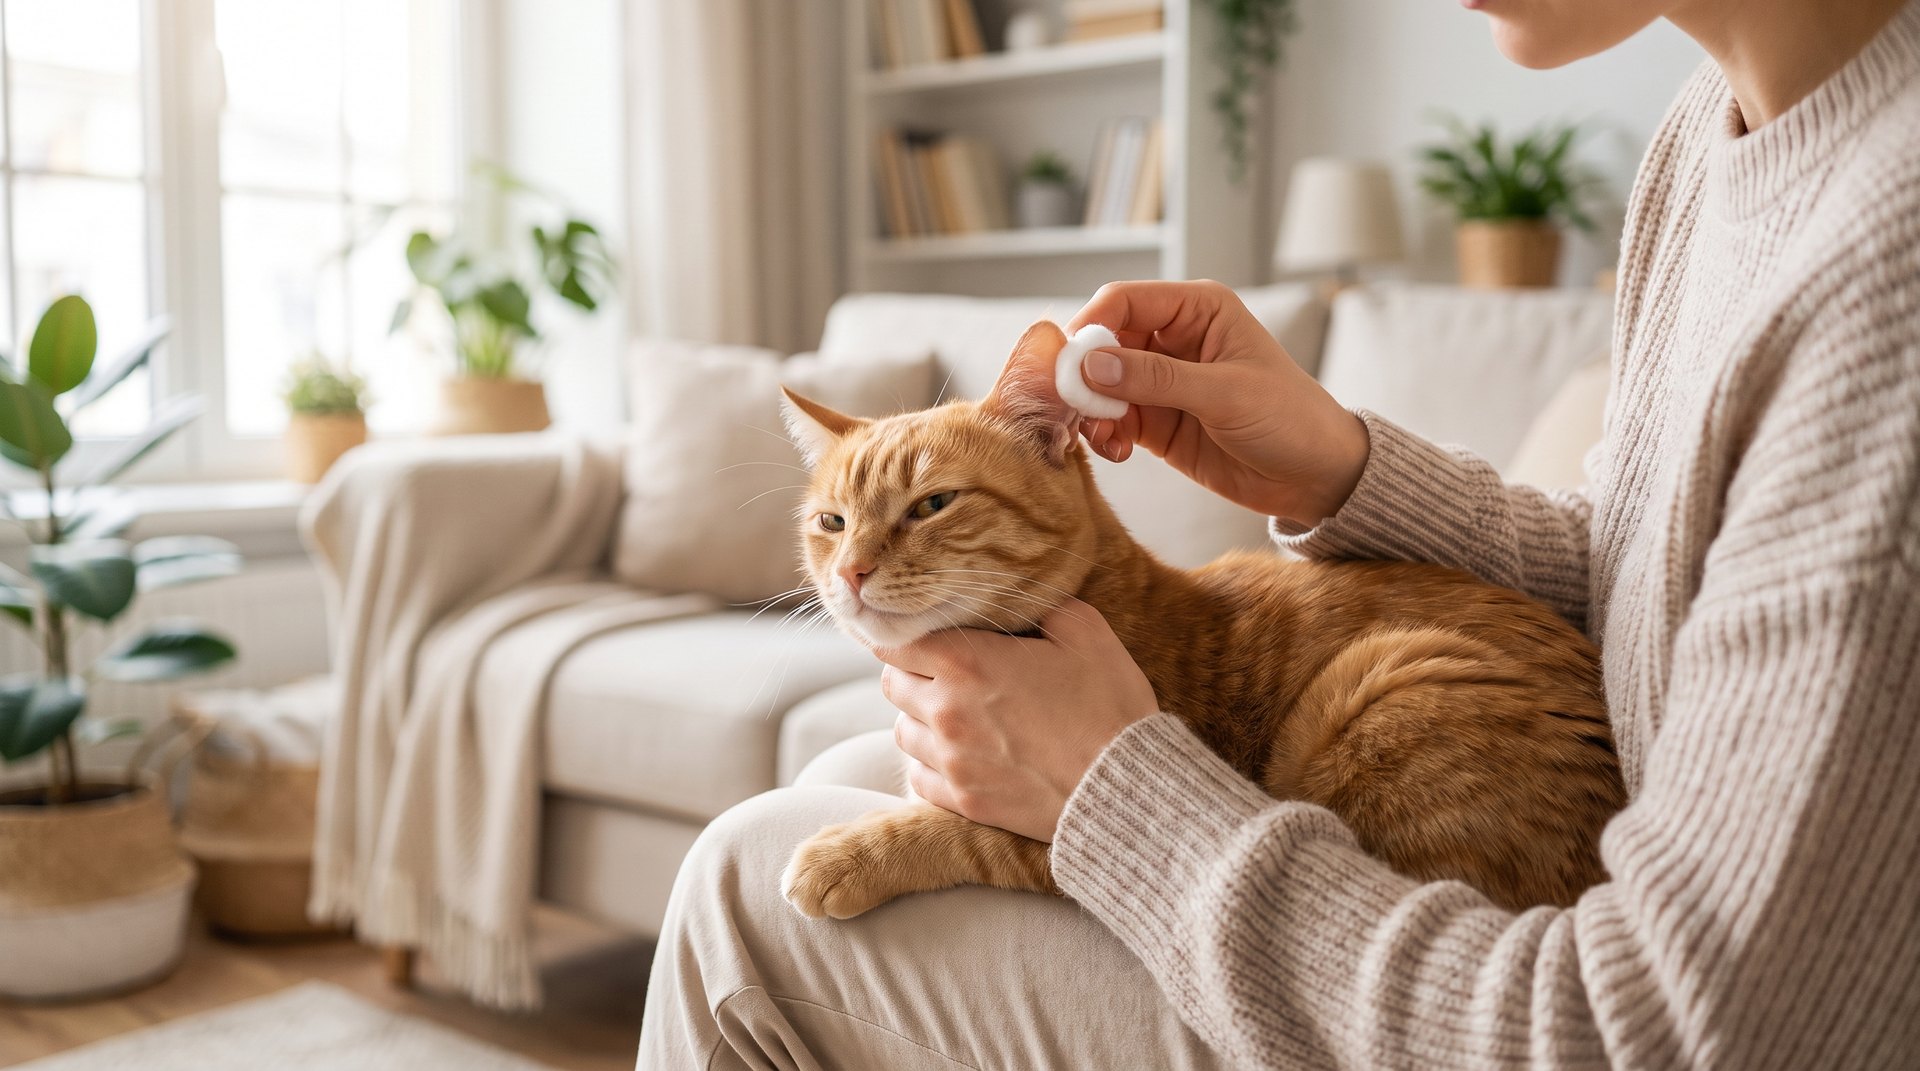
Wondering how to clean your cat’s ears safely at home, step by step? Good news first: most healthy cats never need their ears cleaned at all. Cats are very good at grooming themselves, and a clean, healthy ear is usually pale pink with little to no smell, wax, or dirt. At-home cleaning is only a good idea when your vet asks you to do it, or when you spot a little wax or light debris in an ear that looks calm and does not hurt your cat. If the ear looks red, smells bad, or seems sore, cleaning is not the answer. That ear needs a vet first.
This simple guide walks you through what to check first, the right supplies, the correct cleaning method, and the things you must never put inside your cat’s ear.
Do Cats Even Need Their Ears Cleaned?
Usually, no. A healthy cat keeps its own ears clean. You only step in when there is a small amount of wax or light debris in an otherwise happy, pain-free ear, or when your vet tells you a certain cat needs a hand. Some cats do build up more wax than others. For those cats, a light clean every 2 to 3 months is often plenty. Cleaning healthy ears too often can actually cause irritation, so more is not better here. Always follow the exact plan your vet gives you for your own cat.
Check the Ear First: Healthy vs. a Problem
Before you clean anything, take a good look and a gentle sniff. A healthy ear is pale pink, calm, and nearly odor-free. Stop and book a vet visit instead of cleaning if you notice any of these signs:
- Redness or swelling inside the ear
- Pain when you touch the ear, or your cat pulls away
- A strong or foul smell
- Unusual discharge that is black, brown, or yellow
- Head shaking or ear scratching that will not stop
- Scabs, scaly skin, or hair loss around the ear
- A head tilt, wobbly balance, or circling
These signs point to an infection, ear mites, or something deeper. Cleaning first, or using the wrong product, can make it worse. Let a vet look before you touch it.
What About That Dark, Coffee-Ground Gunk?
Dark, dry, crumbly debris that looks like coffee grounds is the classic sign of ear mites. Mites are very itchy and spread easily to your other cats and dogs. They are one of the most common causes of ear trouble in cats, and they do not clear up on their own. Home cleaning alone will not get rid of them. A vet confirms mites by looking at the ear debris under a microscope, then treats them with a proper cleaning plus prescription ear drops, often with parasite prevention. Treatment often takes a few weeks. So if you see coffee-ground gunk, skip the home clean and call us.
The Supplies You Need (and Nothing Else)
A safe home clean uses a very short list. No tools go into the ear canal at all.
- A vet-approved liquid ear cleaner made for cats
- Cotton balls or gauze pads
- A towel to wrap your cat gently
- A few treats your cat loves
That is the whole kit. Never use water, hydrogen peroxide, rubbing alcohol, vinegar, or any home remedy inside the ear. Water can lead to a yeast infection, and peroxide, alcohol, and vinegar irritate the canal and make more secretions that feed bacteria and yeast. Only a cat-safe ear cleaner belongs in there.
How to Clean Your Cat’s Ears, Step by Step
Pick a calm moment. Kuwait’s summer heat can make cats cranky, so a cool, quiet room helps. Work slowly and keep your voice soft.
- Wrap your cat gently in a towel with just the head out, so it feels snug and safe.
- Hold the ear flap and pull it back a little to straighten the canal.
- Squeeze in enough cleaner to fill the canal, and do not let the bottle tip touch the ear.
- Massage the base of the ear for about 30 seconds, until you hear a soft squishing sound.
- Let your cat shake its head. This is meant to happen and brings loosened debris up.
- Wipe only the visible flap and the opening of the ear with a cotton ball or gauze. Never push down into the canal.
- Give a treat, then repeat on the other ear.
The 30-second massage is the part that does the real work, loosening wax deep in the canal. The head shake that follows is normal and helpful, not a sign something went wrong.
What to Never Put in Your Cat’s Ear
This is the most important safety rule on the page. Never push a cotton swab or Q-tip into the ear canal. Swabs push debris deeper and can puncture the eardrum. The same goes for tweezers, a cloth-wrapped fingertip, or any other tool. Only wipe the outer parts you can see with a cotton ball or gauze. Never dig at deep or stuck debris yourself, and never force the process. If your cat is scared, struggling, or in pain, stop. A frightened cat can get hurt from restraint, and pushing liquid into a sore ear causes harm. Deep or stuck debris is a job for your vet.
When to See the Vet Instead of Cleaning
Some ear problems need a vet, not a home clean. Book a visit if the ear is red, swollen, sore, smelly, or has odd discharge, or if your cat keeps shaking its head and scratching. A vet needs to check the ear canal and eardrum before any medicated cleaning, because if the eardrum is already torn, some solutions reaching the middle ear can cause more damage. Cats with painful, infected ears sometimes need light sedation for a safe, thorough clean.
Some signs need prompt care. A head tilt, loss of balance, circling, odd eye movements, vomiting, or a tired, low mood can mean the problem has spread to the inner or middle ear. Do not wait or try to clean at home. Get your cat seen right away.
Frequently Asked Questions
Can I use cotton swabs or Q-tips to clean my cat’s ears?
No. Never put a cotton swab or Q-tip into the ear canal. They push wax and debris deeper and can rupture the eardrum. Use only a cotton ball or gauze, and only on the parts of the ear you can see.
Can I use water, hydrogen peroxide, or vinegar to clean my cat’s ears?
No. These are not safe inside a cat’s ear. Water can trigger a yeast infection, and peroxide, alcohol, and vinegar irritate and inflame the canal, which helps bacteria and yeast grow. Use only a vet-approved ear cleaner made for cats.
How often should I clean my cat’s ears?
Most cats never need it. If your vet has confirmed your cat tends to build up wax, a light clean every 2 to 3 months is usually enough. Cleaning healthy ears too often causes irritation, so follow your vet’s specific advice for your cat.
What is the black, coffee-ground stuff in my cat’s ears?
Dark, dry, crumbly debris that looks like coffee grounds usually means ear mites. Mites are itchy, spread to other pets, and will not go away with home cleaning. Your cat needs a vet exam and prescription treatment, so please give us a call rather than cleaning it yourself.
When in doubt, let us take a look. If you are not sure whether your cat’s ears are healthy or need care, our team is here to help. You can book online or give us a call, and we will check the ears safely and show you what is normal for your cat.